How to Build a Book Nook Kit: A Step-by-Step Guide
BookNookKit.diy Editorial Team
Updated June 28, 2026 · 9 min read · 40+ kits researched
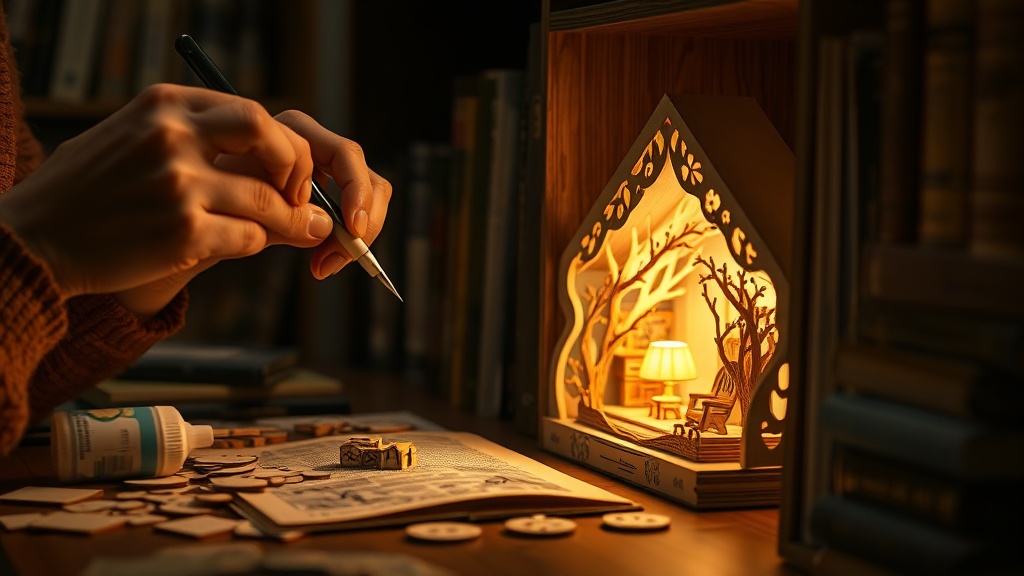
We have assembled more than 40 book nook kits across every major brand, and the single thing that separates a smooth build from a frustrating one is going in the right order. This guide covers every stage from unboxing to shelf — including the LED wiring step most beginners get wrong.
What you will need before you start
Most kits ship with the essentials, but having a few extras on hand makes everything easier:
- The kit itself — laser-cut wood sheets, acrylic panels, paper scenery, LED strip and an illustrated manual.
- White PVA / wood glue — even if glue is included, a full bottle gives you control. Thin consistency works better than thick craft glue; it dries clear and doesn't warp.
- Tweezers — essential for placing tiny furniture, flowers and signage. Curved-tip tweezers grip awkward shapes better than straight ones.
- A craft knife and cutting mat — for cleaning tabs off laser-cut pieces and trimming paper. A sharp blade makes a huge difference; a dull one tears.
- A toothpick or cocktail stick — perfect for applying small dots of glue to paper elements without flooding them.
- Clamps or binder clips — to hold glued walls in place while they dry. Rubber bands work in a pinch.
- Good lighting — a daylight desk lamp reveals detail you'll miss in ceiling light, especially when reading the manual's reference photos.
Step 1 — Read the manual before touching anything
Spend 10 minutes flicking through the whole instruction booklet before you start. Note how many stages there are, where the LED wiring happens, and whether the kit uses numbered bags or numbered sheets. We have seen builders glue a wall in the wrong orientation on Step 3 because a detail in Step 12 made it obvious which way it should face — a quick read-through prevents this.
Step 2 — Lay everything out and sort by type
Punch pieces out of their sheets gently — if a piece resists, use a craft knife rather than forcing it; forced pieces snap. Group them by the manual's numbering system. With larger kits (250+ pieces), labelling small zip-lock bags with a marker saves time.
Step 3 — Dry-fit before gluing anything
This is the most important step beginners skip. Assemble the entire structure — or at least the main walls and floor — without any glue to confirm orientation, check fit, and spot any pieces that need light sanding. Then disassemble and glue. It adds 15 minutes and saves hours of fixing mistakes.
Step 4 — Build the outer shell first
Glue the floor, side walls and back panel before any interior detail. Apply a thin bead of glue to the tab/slot joints, press them together, and give each joint 2–3 minutes before adding the next piece under load. Rushing this stage creates a wobbly base that amplifies every misalignment later. Let the shell sit for at least 30 minutes before moving on.
Step 5 — Add interior structure (shelves, floors, partitions)
Once the outer box is solid, fit the interior divisions. These define the "rooms" or "floors" of your scene. In our experience, the fit here is the tightest part of any build — if a shelf won't seat properly, check whether a wall tab is slightly proud and shave it down with a craft knife rather than forcing the shelf in.
Step 6 — Wire and test the LEDs before sealing
This is the step most first-timers get wrong: they glue the back panel shut, then try to thread the LED wire through. Don't. Route the LED strip first, plug it in, confirm every light works, then close up the back. Run the wire down a corner or along the top edge so it exits cleanly at the base or rear. If the kit uses battery power, position the battery housing so you can reach it after assembly.
Warm white LEDs (2700–3000K) suit cozy library, café and castle themes. Cool white or colour-changing strips suit cyberpunk and magic scenes. Most included strips are warm white, which works for about 80% of themes.
If an LED lead breaks during the build, or you want to add extra lights to a scene, a short soldered splice is far more reliable than twisting wires together. Our sister site explains how to solder wires together, and its LED resistor calculator tells you which resistor a loose LED needs.
Step 7 — Place paper and fabric details
Paper shop signs, tiny books, fabric awnings and printed wallpaper go in now. Use a toothpick for glue application — too much glue on paper causes buckling and tide-marks. For wrinkled paper pieces, press them between two heavy books overnight before use.
Step 8 — Add miniature furniture and props
Work from the back of the scene forward. Place the largest items first, then fill around them with smaller details. Tiny chairs, lanterns, flower pots and books transform an empty scene into a world. If a prop has a base, glue it down; if it is free-standing, leave it removable for easier dusting later.
Step 9 — Seal, fit the dust cover and place on your shelf
Close the back panel (if not already done), press it firmly and let it cure. Fit the clear acrylic dust cover to the front — this usually clips or slots in without glue. Then slide it between your books. The first time you turn on the lights in a darkened room is the payoff for all the careful work.
Build time — what to realistically expect
| Kit size | Piece count | Typical build time |
|---|---|---|
| Beginner | ~100–200 | 3–5 hours (one afternoon) |
| Intermediate | ~200–350 | 6–10 hours (a weekend) |
| Advanced | 350+ | 10–20+ hours (multiple weekends) |
The five mistakes we see most often
- Gluing before dry-fitting. Always dry-fit first.
- Using too much glue on paper. A toothpick tip of glue is enough for most paper joints.
- Sealing the back before testing the LEDs. Non-negotiable: test lights before closing.
- Rushing drying time. Each glued joint needs at least 2 minutes before adding load. Overnight for the main shell is ideal.
- Ignoring the manual photos. Zoom into the reference images — they show details the text misses.
If this is your first build, start with a kit that has a lower piece count and clear English instructions — see our beginner book nook kits guide. Ready to shop? Our best book nook kits roundup ranks the top picks by theme.
The LED wiring step deserves its own deep dive — our book nook LED lighting guide covers USB vs battery, colour temperature, infinity-mirror effects and how to add your own lights to any kit.