How to Light a Book Nook: LEDs, Power & Tips
BookNookKit.diy Editorial Team
Updated June 28, 2026 · 7 min read · 40+ kits researched
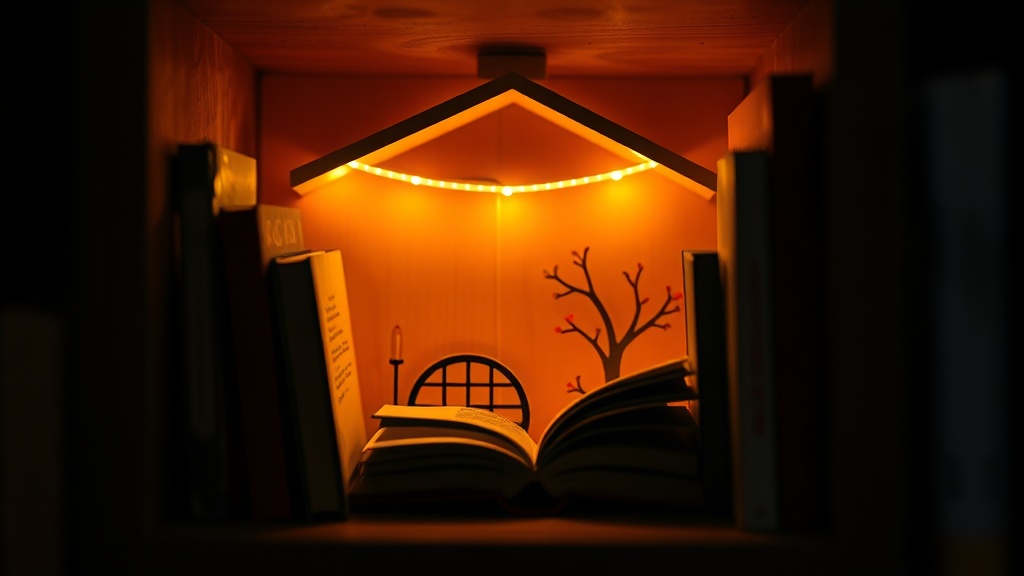
Turn a finished book nook on in a dim room and it stops being a model — it becomes a tiny world. The LED lighting is what does that. After wiring LEDs in 40+ kits, here is everything we have learned about getting the best possible glow.
How book nook LED systems work
Most kits use a low-voltage LED strip — a thin, flexible tape of individual bulbs that you route around the interior. The strip connects to a small power unit (a USB plug or battery housing) that sits outside the kit or hidden at the base. Some higher-end kits use individual point LEDs rather than a strip, and a very few use colour-changing or remote-controlled systems.
The most common configuration: a warm-white LED strip along the top inside edge of the nook, angled to wash the scene with light while keeping the bulbs themselves hidden from the front view. This is exactly the arrangement we use in 90% of builds.
USB vs battery power — which is better?
| USB power | Battery power | |
|---|---|---|
| Convenience | Plug into any USB adapter, power bank or PC port | No cables — sits anywhere on the shelf |
| Long-term cost | Free after initial setup | Ongoing battery cost, especially if left on |
| Tidiness | Cable visible behind/below the nook | Completely cable-free |
| Always-on | Easy to leave on a smart plug timer | Drain batteries quickly if always-on |
Our preference: USB, routed neatly behind the shelf. The one-off cable is less annoying than replacing batteries every few weeks if you run the lights often. If you want zero cables, use battery and only run the lights when you're actively in the room.
Note on battery inclusions: Many kits list battery-powered LEDs but omit the batteries from the box (shipping regulations on lithium batteries vary by carrier). Check the listing — if batteries are not included, AAA or CR2032 coin cells depending on the kit type.
Where to route the LED strip for the best effect
The goal is hidden bulbs and visible light. Three placements work well:
- Top inside edge — the most common. Strip faces down and slightly back, washing the scene in an even glow. Invisible from the front once the kit is complete.
- Behind the front frame — if the kit has a decorative surround, routing the strip behind it casts warm light through gaps and adds depth to the front of the scene.
- Multiple strips — for larger or multi-floor kits, a second strip at a mid-floor level eliminates shadowing on the lower levels that a single top strip creates.
Critical tip: always route and test the LED strip before sealing the back panel. Once the back is glued, accessing the interior to fix a wiring issue is extremely difficult. Test, then seal.
Warm vs cool — choosing the right colour temperature
Colour temperature (measured in Kelvin) has a bigger effect on the final look than almost any other single variable:
- Warm white (2700–3000K) — amber, cozy, firelit feel. Best for libraries, cafés, Japanese scenes, gardens and castles. The vast majority of included strips are warm white, which suits the majority of themes.
- Natural/cool white (4000–5000K) — crisp, modern. Works for cyberpunk and some contemporary scenes.
- Colour LEDs — blue/purple suits space and magic themes; green suits forest/fairy scenes. Most colour-LED kits include a remote controller for switching.
Infinity-mirror effects — how they work
Some of the most dramatic book nooks use an infinity mirror: a standard mirror on the back wall and a semi-transparent (one-way) mirror on the front, with LEDs between them. The reflections bounce back and forth infinitely, making the scene appear to stretch back far beyond its physical depth. Kits like the FUNPOLA Magic Station and the FUNPOLA Sakura Train use this technique to stunning effect. The key to a good infinity mirror effect is eliminating light leakage around the edges — the kit's quality of construction determines this, not your assembly.
Adding your own lights to a kit that doesn't include them
If your kit doesn't include LED lighting (or you want to upgrade or supplement it), here's what works:
- USB fairy lights — the flexible string style, ideally warm white, with individual LED "stars." Thread them through openings in the structure. Available cheaply from most online retailers.
- Thin LED strip on adhesive backing — easiest to route and the most "kit-like" in appearance. Cut to length. 5V strips run off USB; no driver needed.
- Individual 3mm LEDs — for pinpoint light placement (lamp posts, window glow). Requires basic electronics (resistor + 5V or 3.3V power).
For any lighting upgrade, use 5V/USB-powered strips — they're safe at low voltage, run cool, and can be powered by any phone charger or power bank.
Ready to start your build? Our complete step-by-step build guide walks you through every stage from unboxing to shelf. Choosing your first kit? See our beginner kit picks for recommendations with LED already included.